How To Use The Device Detection Troubleshoot Tool
Razerthink– Understanding the purpose of the Device Detection Troubleshoot Tool in Razer Synapse. The Device Detection Troubleshooting Tool in Razer Synapse serves the vital purpose of helping users solve problems related to device detection in software. Razer Synapse is unified configuration software that allows users to customize their Razer devices, such as keyboard, mouse, and headset, to suit their preferences.
However, sometimes users may encounter a problem when Razer Synapse fails to detect or recognize their connected device properly. This is where the Device Detection Troubleshooting Tool comes into play. Its primary purpose is to assist users in troubleshooting and efficiently solving this device detection problem.
The tool is designed to diagnose
This tool is designed to diagnose potential causes behind problems, such as software conflicts, driver inconsistencies, or connectivity issues. By running the troubleshooter tool, users can initiate an automated diagnostic process that checks the system and provides potential solutions to resolve device detection issues.
In addition, the Device Detection Troubleshooting Tool offers step-by-step instructions and recommendations tailored to the specific problem at hand. It may suggest actions such as updating drivers, reconnecting the device, or performing a system restart to fix the problem.
Summary
In short, the goal of the Device Detection Troubleshooting Tool in Razer Synapse is to streamline the troubleshooting process for users experiencing device detection issues. This tool aims to ensure a smooth and optimal user experience with Razer Synapse and its related devices by providing targeted guidance and potential solutions.
Device Detection Troubleshooting Tool Guide
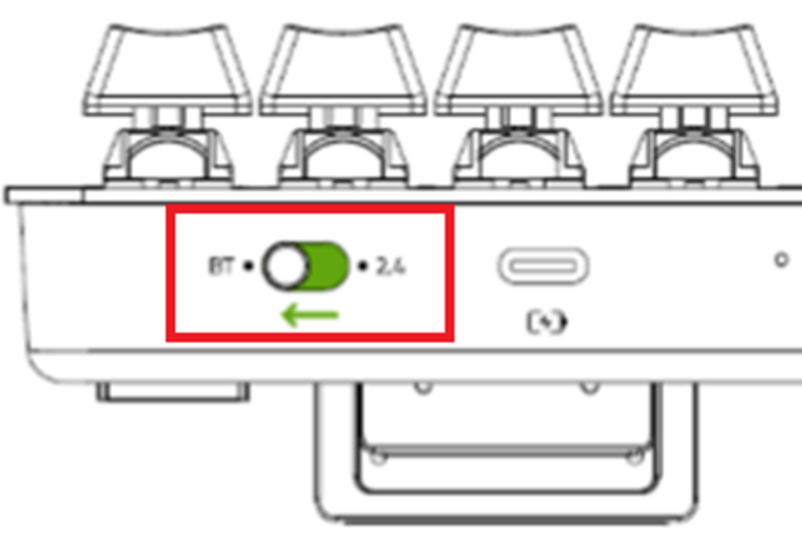
If your device is still undetected by Razer Synapse even after troubleshooting, you can use the Device Detection Troubleshooting Tool to help solve the problem.
Tool version v1.0.0.8
• https://rzr.to/P4gykm | March 17, 2021
• Change product ID to Razer Synapse
STEP-BY-STEP PROCESS
Important: Complete each step.
1. Make sure the device is detected in Windows Device Manager. Then, continue using the Device Detection Troubleshooting Tool.
Note: Contact Razer Support if your under-warranty device is not detected in Windows Device Manager.
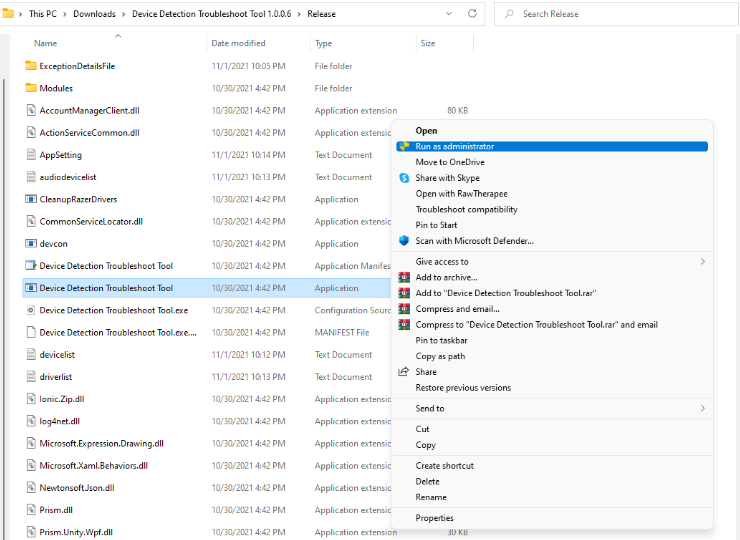
2. Download the Device Detection Troubleshooting Tool.
3. Unzip the file.
4. Open the “Untie” folder.
5. Right-click on the “Device Detection Troubleshoot Tool” application and select “Run as Administrator.”
6. Follow the on-screen instructions.
Note: Plug in your devices before reinstalling Razer Synapse.
7. Ensure the device is detected in Windows Device Manager after Razer Synapse 3 is installed.
Note: Contact Razer Support if the device under warranty period is not detected in Windows Device Manager.
Frequently Asked Questions
Why is Razer Synapse not detecting my device?
Ensure the device is properly plugged in and connected directly to the computer, not through a USB hub. Clean and reinstall your Razer Synapse 2.0 if the issue persists. Remove old drivers from the Device Manager.
How do I troubleshoot my Razer Synapse?
Run “Task Manager” if the issue persists.
- Go to “Services.”
- Check if the following services are running: Razer Central Service. Razer Synapse Service.
- Right-click on “Razer Central Service.”
- Select “Start” or “Restart.”
- Do the same for “Razer Synapse Service.”
Why is Razer not detecting my mouse?
This issue can occur because of USB port connection issues. Some users have revealed that plugging Razer devices into different USB ports on their PCs resolved the issue of Synapse not detecting them. So, try unplugging your Razer device and plugging it into an alternative USB port.
How do I scan for Razer devices?
Connect a supported third-party device. Launch Razer Synapse 3. Go to “CONNECT”> “DEVICES.” The supported device will be displayed on the left side.